

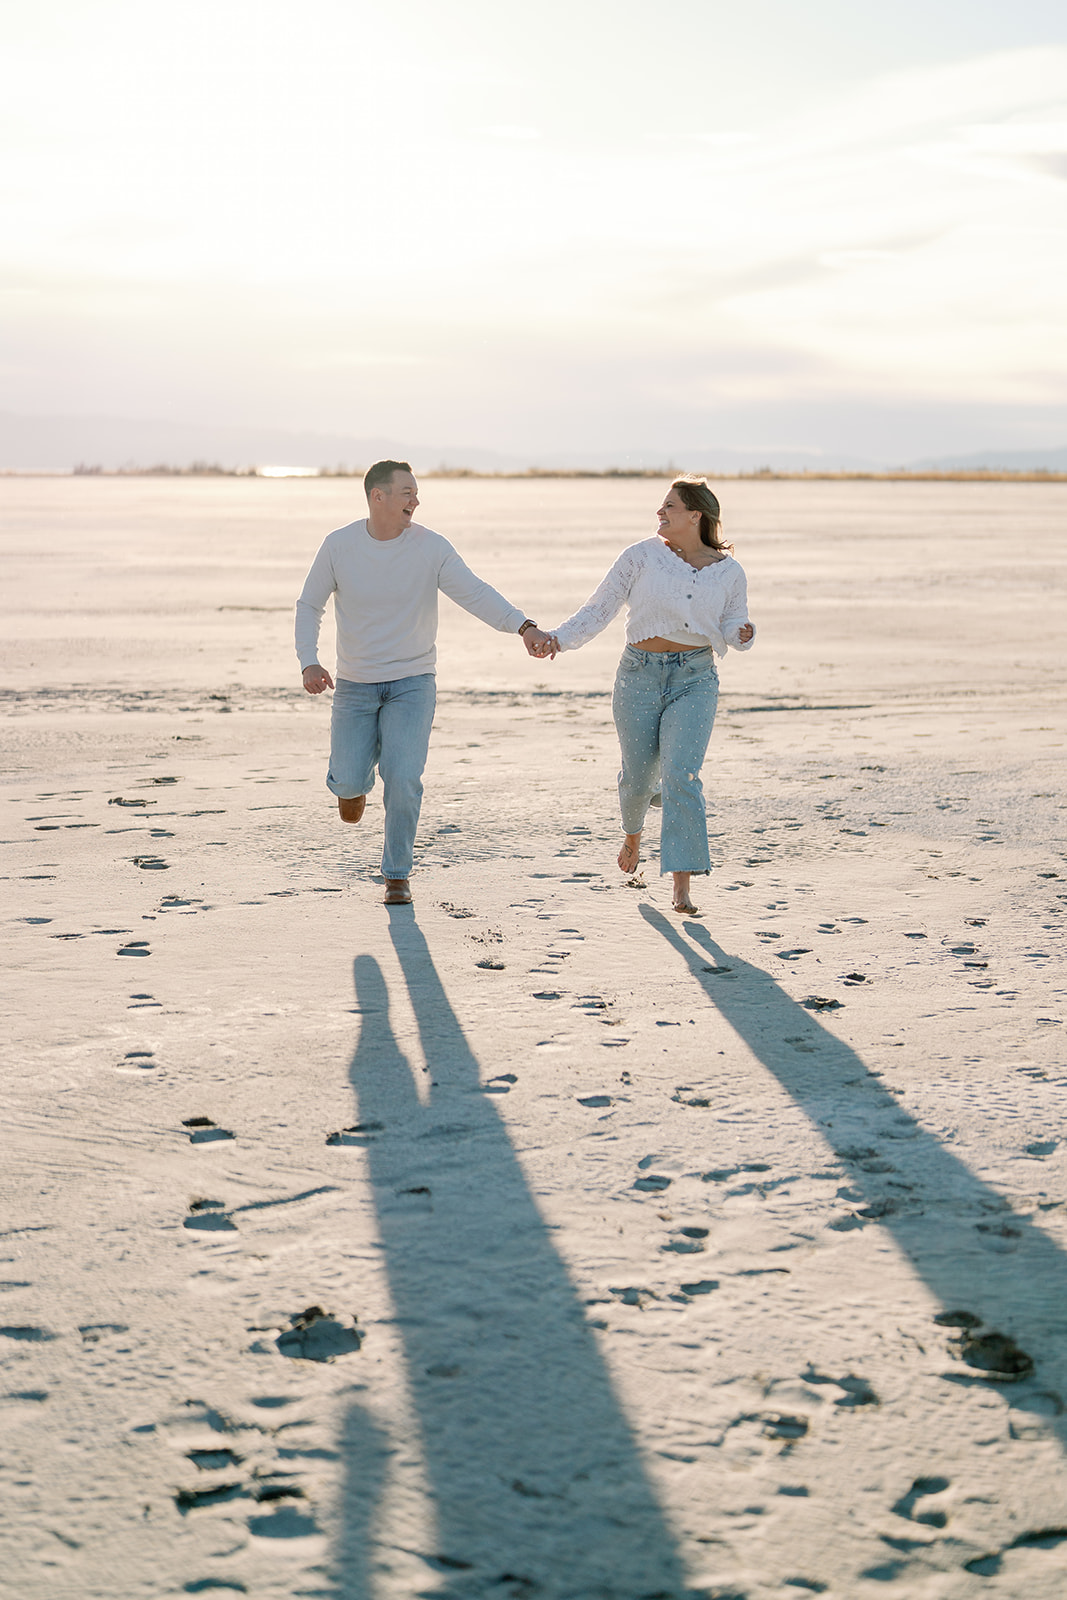
So, you’ve got the passion, the creativity, and the desire to make photography more than a hobby. Congratulations! I remember when I moved on from hobby to professional and it with the best choice I ever made. But before you dive in, let’s chat about the tools you’ll need to get started, plus a few fun tips and tricks to make your first steps smooth, exciting, and rewarding. I have made many mistakes in my 16 years of business and I don’t want you to make them during your business endeavors, so I created this blog post to help you start your business off on the right foot.
—
1. Get the Right Camera: Your Trusted Companion
The camera is your right hand in this journey. But don’t worry—starting a photography business doesn’t mean you need to break the bank on the most expensive gear out there. For a solid beginner-friendly camera, you’ll want something versatile, reliable, and easy to use.
**Starter Cameras:** Canon EOS Rebel series, Sony Alpha a6000, or Nikon D3500. These options provide quality images and allow room to grow without over-complicating things. Remember that the lenses are really what make your images shine. It’s like having fine ingredients from a top chef instead of basic ingredients.
*Pro Tip: Don’t skip the manual! Learning your camera’s full potential is like unlocking superpowers for your shoots. Trust me, every time I get a new camera, this always helps the process. It might even speed up your post processing time, too.
—
2. Lens Love: Choosing the Right Glass
Once you’ve chosen a camera body, it’s time to pick your first lens. A 50mm lens is a great all-around choice, especially for portraits, as it’s versatile, sharp, and often called the “nifty fifty” because it does so much for so little.
Top Lens Picks for Starters: 50mm f/1.8 lens for portraits and a wide-angle lens (like a 24mm) if landscapes or events are more your style. I use the Sony G Masters 50mm f/1.2 and it’s my favorite lens. It hardly comes off my camera. The 24-70 2.8 lens is also another great starter lens
*Lens Tip:* A good lens can be more important than a top-of-the-line camera body, so this is where a smart investment pays off. They also don’t loose their value as quickly as the camera body does.

—
3. Lighting Essentials: Let There Be Light!
Natural light is a photographer’s best friend, but it can’t always be counted on—especially indoors or at events. To get started, a simple external flash or LED panel can help you create consistent lighting, making your images look polished and professional.
Starter Lighting Options: Neewer LED panels or a Godox flash. Affordable, portable, and will make your photos look amazing!
*Lighting Hack:* Try using a cheap reflector to bounce light back onto your subject for soft, flattering light without fancy equipment. This also works great when you are on a green lawn and you don’t want it to bounce onto your clients faces.
—
4. Practice, Practice, Practice.
—
5. Editing Magic: Software to Bring Out the Best in Your Shots
The shoot doesn’t end when you press the shutter! Editing helps bring your images to life. Adobe Lightroom is a top choice for beginners and pros alike—it’s intuitive, loaded with features, and makes editing a breeze. And if you want to go free, check out GIMP or Snapseed for basic edits.
Top Editing Software: Adobe Lightroom for easy and professional-looking edits; GIMP or Snapseed for great budget-friendly options.
*Editing Tip:* Try starting with small adjustments (like exposure and contrast) and build up as you get comfortable.

—
6. Storage and Backup: Protect Your Work
This one is important and will save you a lot of heartache and money. You’ll need space to store those growing files and depending on your megapixels from your camera, you might need more than another one. Be prepared with an external hard drive and/or cloud storage. I actually use both. There’s nothing worse than losing your photos, so back everything up from day one onto two different hard drives.
Storage Options: I highly recommend using a solid state drive and not a hard drive. They are less likely to corrupt or fail. Here is the one I have that I love and has been my trusty travel companion. I also use Dropbox (for cloud storage).
*Backup Tip:* Make it a habit to back up after each shoot. Better safe than sorry!
—
7. Portfolio and Website: Show the World Your Work
Your portfolio is your virtual storefront. Create a clean, easy-to-navigate online space where potential clients can see your style, contact you, and book you. Platforms like Showit (who I use), or even Instagram can be great places to start showcasing your work.
*Portfolio Hack: Start by building a portfolio with friends or family shoots until you have a range of work to display. Just ask people to photograph them, but don’t forget to have them sign a contract or waiver so you can use their images. Trust me on this. I recommend using these two sites for your contracts and waivers. They both are great.

8. Get Organized
The best thing is to get a Client Management System like Dubsado or Honeybook to keep your files and client questionnaires all in one place. Plus you’ll look professional to your clients. If you want to try either of these sites out, I have a code to use for a trial. Just send me a message and I’ll be happy to share it with you.
*Organizing Hack: On my SSD or Hard Drive I. create folders for the types of sessions I have (Engagement, Weddings, etc) and then create folders inside those main folders of the clients name and photoshoot date.
—
Final Thoughts
You’ve got this and I’m here to help you on your new business adventure. I want to see you and your business thrive. Starting a photography business is as much about your vision as it is about the tools you use and how much your practice. Every shoot, every edit, and every interaction with clients will help you refine your craft and build a business that reflects your unique style. With a bit of patience, practice, and the right tools, you’re well on your way to turning your passion into a successful photography business.


add a comment
+ COMMENTS